ASME B89.4.23 pdf download
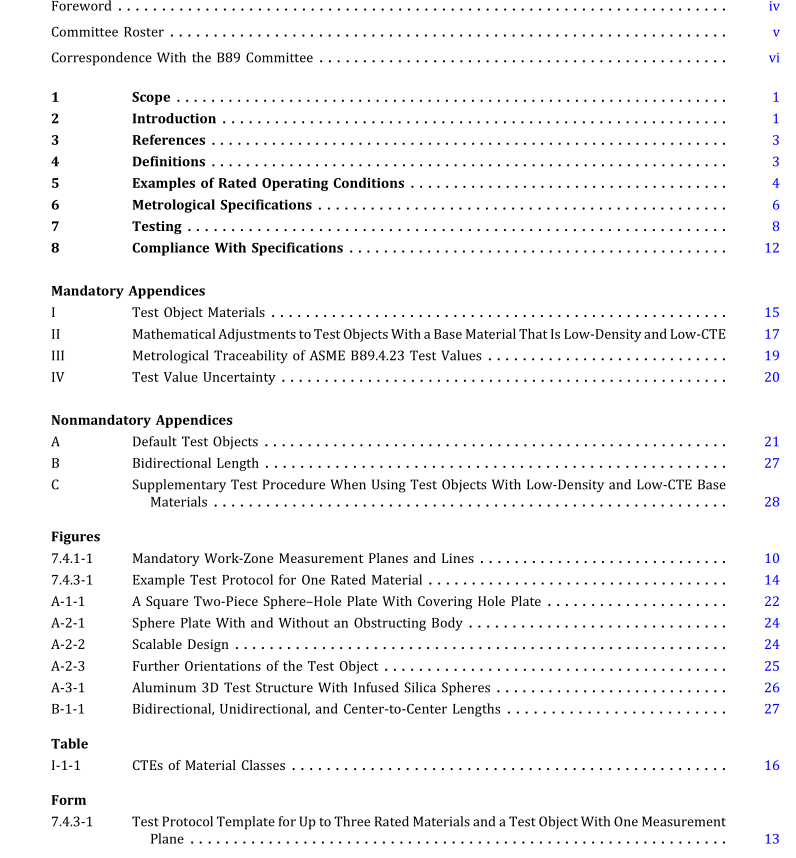
ASME B89.4.23 pdf download X-Ray Computed Tomography (CT) Performance Evaluation
1 scOPE
This Standard specifies the dimensional measurement accuracy of industrial X-ray computed tomography (CT)systems for length, size, and form measurands of sphere-based test objects made of homogeneous materials.Medical cT systems are outside the scope of this Standard.The material properties of the measured test objectsare restricted to three classes of materialselected to be representative ofindustrial materials: plastic polymers,aluminumalloys, and steel alloys; other materials are outside the scope of this Standard.However, this Standard may be used as aguide for testing the performance of a CT system for other materials. The evaluation of workpieces composed of multiplematerials or of materials with density gradients, i.e.gradual density variations within the material,is outside the scope ofthis Standard.
This Standard is applicable to dimensional measurements made at the surface of the workpiece, i.e., at the workpiecematerial-air interface, including those of internal cavities.The effect of complex workpiece-material influence is simu-lated by test objects composed ofspheres (serving as the metrological geometric elements) and an obstructing body, theobstructing body’s dimensionsare uncalibratedand its shape may be arbitrary.The spheres and obstructing body shall beof the same class of material and their combined length shall not exceed the maximum penetration length for this class ofmaterial,as stated by the CT system manufacturer.
This Standard applies to a variety of CT systems that may vary by scanning mode and system components involved inthe acquisition of images. In cases where a system provides multiple configurations of X-ray sources, detectors, andscanning modes, the dimensional measurement accuracy may be specified for each scanning mode.
This Standard does not mandate testing (by either the CT manufacturer or the user) to verify CT performance.Theamount of testing, and which party will bearthe cost oftesting is a business decision and must be negotiated between thetwo parties.Calibrated test objects can be expensive; hence, the parties should recognize the costs involved and plan thetesting accordingly.
Due to contrast sensitivity issues that can arise when X-rays must penetrate through large amounts of material, thisStandarddoes not provide maximum permissible errorspecifications that apply to detecting high spatial-frequency formerrors.
2 INTRODuCTION
ASME B89 performance evaluation standards for dimensional coordinate measuring systems specify the dimensionalmeasuring accuracy for common measurements of industrial workpieces.ldeally the uncertainty associated with eachpoint coordinate within the system’s measurement work zone would be reported, but because the accuracy of an in-dividual point coordinate in space is impossible to experimentally verify, ASME B89 standards typically use a point-to-point length measurand that is both realizable and practical for system testing.The advantage of evaluating test objectswith point-to-point length measurands is twofold:first, test objects are simple to manufacture and calibrate, and second,different point-to-point length measurands can be used to evaluate different effects. Long-range effects are evaluated bythe point-to-point length error between the center of two spheres on a test object, which can span the entire work zone.Short-range effects are evaluated by the errors in the point-to-pointdistancefrom the center of the testspheres to variouspoints on their surface, i.e., sphere form measurands. lmage thresholding issues that are associated with the determina-tion of a surface are evaluated by the error of the size of the test spheres.
A primary goal of ASME B89.4 standards is to define maximum permissible error (MPE) specifications and theirassociated rated operating conditions,which are useful when the user is measuring similar measurands on atypical workpiece.For example, although a CT system might be tested with a calibrated steel test object,the usershould be confident that the combined MPE specifications for center-to-center length, form, and size error wouldlimit the error if a point-to-point length measurement were composed of a point on the exterior of a steel workpieceand a point on an interior surface of a fully enclosed cavity of the workpiece.
