ASME B16.18 pdf download
ASME B16.18 pdf download Cast Copper Alloy Solder Joint Pressure Fittings
6 MATERIAL
(a) Castings intended for use in applications up to 400°F (204°C) shall be of a copper alloy produced to meet (1) the requirement of ASTM B62 Alloy C83600 (2) the tensile requirements of ASTM B584 Alloy C83800 or C84400 and in all other respects comply with the requirements of ASTM B62
(b) Castings intended for use in potable water appli- cations, up to 200°F (93°C), shall be either (1) of a copper alloy produced to meet the require- ments of ASTM B584 Alloy C87850 or C89833, or (2) of other cast copper alloys, provided the fittings produced meet mechanical and corrosion-resistant properties needed for potable water application 7 METAL THICKNESS Dimensional variations occur in the casting process. Pattern equipment shall be designed to produce the metal thickness given for fittings in Table 3 or Table I-3. The minimum wall-thickness shall not be less than 90% of the body and joint wall-thickness as shown in Table 3 or Table I-3.
8 INSPECTION TOLERANCE
8.1 Convention For determining conformance with this Standard, the convention for fixing significant digits where limits (maximum or minimum values) are specified shall be as defined in ASTM E29. This requires that an observed or calculated value be rounded off to the nearest unit in the last right-hand digit used for expressing the limit. Decimal values and tolerances do not imply a particular method of measurement.
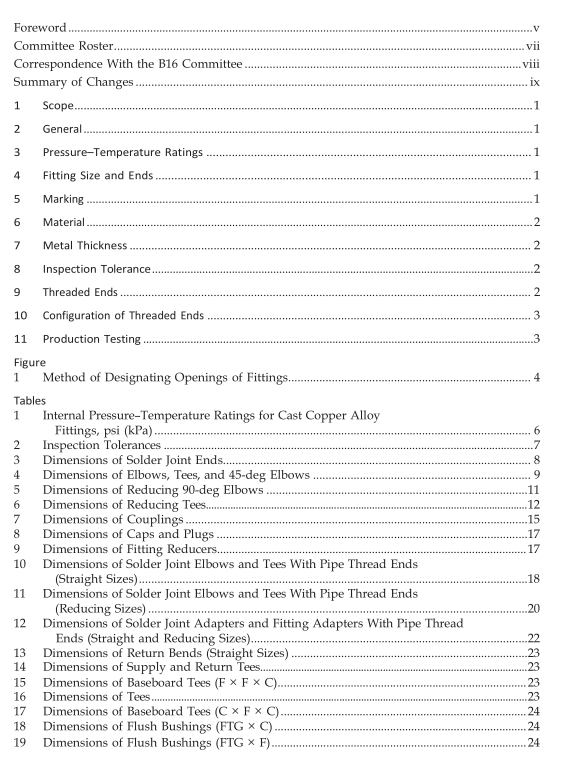
8.2 Linear Dimensions An inspection tolerance as shown in Table 2 shall be allowed on center-to-shoulder, center-to-center, centerto-threaded end, and shoulder-to-threaded end dimen- sions on all fittings having female solder (solder cup) ends, and on center-to-solder end and solder-to- threaded end dimensions on all fittings having male solder (fitting) ends. Coupling inspection limits for shoulder-to-shoulder and shoulder-to-end dimensions shall be double those shown in Table 2, except that the minus tolerance applied to dimensions M, N, and W, and Tables 7 and I-7 shall not result in a dimension less than 0.06 in. (1.5 mm) for sizes 1 ⁄ 4 through 1 in., inclusive, or a dimension less than 0.09 in. (2.3 mm) for the larger sizes. The largest opening in the fitting governs the tolerance to be applied to all openings. Tables 3 through 19 and Tables I-3 through I-19 offer dimensions for pressure fittings covered by this Standard.
8.3 Ovality Maximum ovality shall not exceed 1% of the maxi- mum diameters shown in Table 3 or Table I-3. The aver- age of the maximum and minimum diameters must be within the dimensions shown in the table.
8.4 Gaging of Solder Joint Ends
8.4.1 Standard Gaging Method. The standard method of gaging the diameter tolerances for male and female ends shall be by the use of plain plug and ring gages designed to hold the product within the limits established in Table 3 or Table I-3. 8.4.2 Optional Gaging Method. For gaging the diameter tolerance of male and female ends, the manu- facturer may use direct reading instruments instead of ring and plug gages as specified in para.
8.4.1. When gaging the diameters of male and female ends using direct reading instruments, refer to para. 8.3.
8.5 Standard Gaging Method of Threaded Ends The standard method of gaging the external and internal threaded ends shall be in accordance with the requirements of ANSI/ASME B1.20.1.
8.6 Alignment The maximum-allowable deviation in the angular alignment of any opening shall be 0.06 in./ft (5 mm/m) (0.5%).
9 THREADED ENDS
9.1 Thread Type Fitting threads shall be right hand, conforming to ANSI/ASME B1.20.1, Pipe Threads, General Purpose (Inch). They shall be taper threads (NPT).
9.2 Countersink or Chamfer All internal threads shall be countersunk a distance not less than one-half the pitch of the thread at an angle approximately 45 deg with the axis of the thread, and all external threads shall be chamfered at an angle of 30 deg to 45 deg from the axis, for easier entrance in making a joint and protection of the thread. Counter- sinking and chamfering shall be concentric with the threads.
