ISO 16796 pdf download
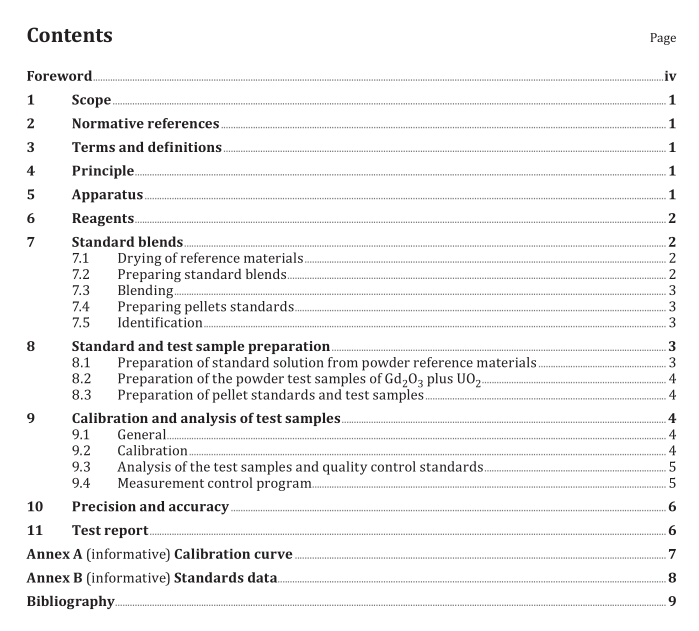
ISO 16796 pdf download Nuclear energy — Determination of Gd 2 O 3 content in gadolinium fuel blends and gadolinium fuel pellets by atomic emission spectrometry using an inductively coupled plasma source (ICP-AES)
— The measurement of optical intensity is typically performed each day at a single wavelength using the same concentration analyte (for example 10 µg/g manganese standard solution at 257,610 nm).
— The intensity is normally measured radially with respect to the plasma. Gadolinium measurements at high concentration are typically measured radially while low concentration gadolinium is typically measured axially. To calibrate the measurement system for powder test samples, the standard solutions prepared in accordance with 8.1 are measured in at least duplicate and the calibration curve produced from the intensity-versus-concentration curve. To calibrate the measurement system for pellet test samples, the standard solutions prepared in accordance with 8.3 are measured in at least duplicate and the calibration curve produced from the intensity-versus-concentration curve. Calibration curves are evaluated using acceptance criteria established by each laboratory, based upon their historical performance; e.g., linear regression fit (R 2 ), slope, and coefficient of error. See example in Annex A.
9.3 Analysis of the test samples and quality control standards The test samples prepared in 8.2 and 8.3 shall be analysed after making the calibration curve. Test samples shall be measured in at least duplicate and spiked test samples should be measured at a defined frequency such as one test sample per batch of ten or fewer similar test samples. To avoid daily correction and achieve the required precision, a new calibration curve is prepared for each batch of test sample determinations. Process blank measurements should be performed periodically to ensure that background levels are in the expected range; however, background corrections are not normally necessary. Quality control (QC) standards shall be prepared and measured in the same manner as test samples. Compare the emission intensities of the test samples and QC standards to the calibration curve and calculate the Gd 2 O 3 concentrations for each of the test samples and QC standards. QC standards shall be used as both opening and closing controls, and should be control charted to monitor measurement and analyst performance. If any of the test samples contain products other than UO 2 and Gd 2 O 3 , the calibration and the instrument control measurements shall be performed using reference material blends having the same matrix as the test samples. 9.4 Measurement control program The measurement control program, procedure system, record retention program, method qualification, and staff training for measuring gadolinium by ICP-AES method shall conform with the accepted practices at the user laboratory. Guidance on record retention, method qualification, and staff training is available in ISO/IEC 17025 [2] .
Guidance on a measurement control program is available in ANSI N15.51 [4] QC standards shall be traceable and of sufficient quality to demonstrate control of measurement parameters and performance/proficiency of analysts. Periodic spiking of a predetermined percentage of test samples with known quantities of gadolinium is recommended. Spike recoveries should be consistent with measurement uncertainty determined from quality control standards and should support the conclusion that the measurement method may be applied to demonstrate that materials meet product specification. Measurement of process blanks is recommended to detect unexpected gadolinium background levels.
If any measurements, such as process blanks, will be performed at or near the method detection limit (MDL), then the MDL and the method reporting limit (MRL) should be determined using accepted practices at the user laboratory. Secondary absorption lines for gadolinium such as 342,247 nm and 376,839 nm may be used for routine or periodic comparison purposes or to support method qualification or demonstration activities; however, this document has not been validated or demonstrated using these secondary absorption lines. 10 Precision and accuracy Measurement and sampling uncertainties shall be adequately understood to demonstrate that specifications are being satisfied with an appropriate level of confidence. The calculation of uncertainty for the measurement method shall be performed using accepted statistical practices. Implementation of ISO/IEC Guide 98-3 [1] is recommended. Typical results obtained by one laboratory are the following:
