API Bull 587 pdf download
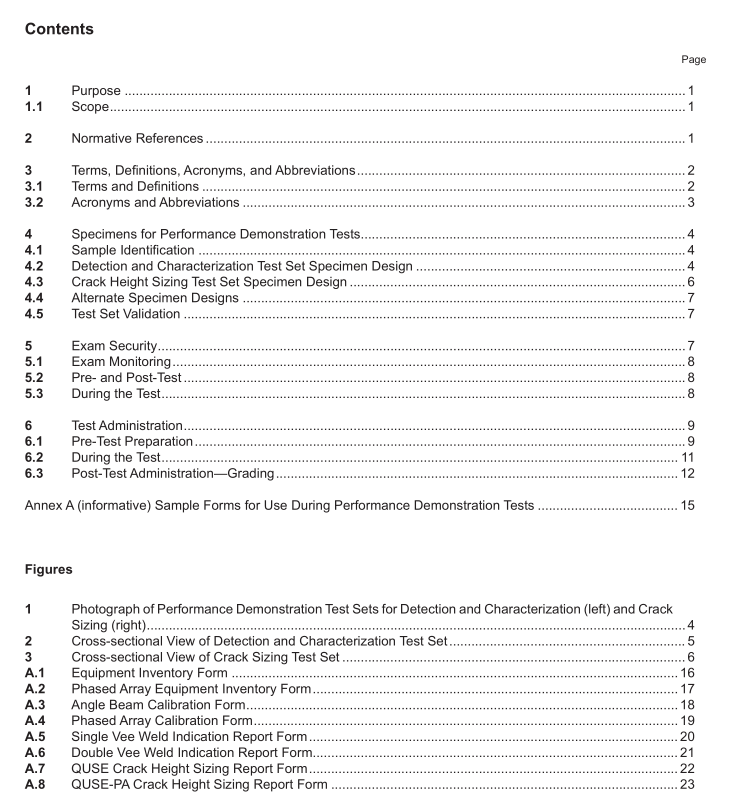
API Bull 587 pdf download Guidance for the Development of Ultrasonic Examiner Qualifcation Programs
The purpose of this publication is to provide ownerlusers with guidelines for developing basic in-house qualficationprograms to identify industry-qualified ultrasonic testing (UT) angle beam examiners that are equivalent to thosepossessing an ultrasonic angle beam qualification from API(e.g.API QUTE/QUSE detection and sizing tests)for inspection of pressure equipment and piping as required by AP1 510 and API 570.The availability of high-quality and accurate UT data is often the cornerstone for weld and base metal discontinuity detection and sizingfor equipment integrity assessments.As a result, APl has implemented several certification programs to assist indefining the minimum criteria for assessing the performance of UT technicians. Examinations for these programsare administered differently than other Individual Certification Program (ICP) certifications in that they are basedon hands-on performance demonstration tests. It should be noted that UT certifications are issued by accreditedNDE certification authorities, such as the American Society for Nondestructive Testing (ASNT), and these API UTICP certifications are considered performance demonstration qualifications by such NDE certification schemes.
1.1Scope
This publication outlines the general guidelines for the development of owner/luser ultrasonic examiner qualificationprograms that are consistent with APl performance demonstration programs for detection, characterization, andcrack height sizing of weld discontinuities in weldments. The performance demonstration programs covered inthis publication include the following:
1.1.1Qualification of Ultrasonic Testing Examiners for Detection and Characterization of Flaws UsingManual Angle Beam Testing: QUTE
QUTE exam description: Exam candidates use manual ultrasonic flaw-detection instruments to examinenew construction carbon steel pipe and plate welds manufactured to ASME code requirements. Candidateperformance measures include flaw detection, characterization, length sizing, and false calls.
1.1.2Qualification of Ultrasonic Testing Examiners for Detection and Characterization of Flaws UsingManual UT-Phased Array: QUPA
QuPA exam description:Exam candidates use manual ultrasonic phased array instrumentation to examinenew construction carbon steel pipe and plate welds manufactured to ASME code requirements. Candidateperformance measures include flaw detection, characterization, length sizing, and false calls.
1.1.3 Qualification of Ultrasonic Testing Examiners for Manual UT-Angle Beam Crack Sizing: QuSE
QuSE exam description:Exam candidates use manual ultrasonic flaw detector instrumentation to size oppositeside cracking in new construction carbon steel plate welds with and without weld crowns in place.
1.1.4 Qualification of Ultrasonic Testing Examiners for Manual UT-Phased Array Crack Sizing: QUSE-PAQUSE-PA exam description: Exam candidates use manual ultrasonic phased array instrumentation to sizeopposite side cracking in new construction carbon steel plate welds with and without weld crowns in place.
1.2Weld specimens for the QUTE,QUPA, QUSE, and QUSE-PA exams are single- or double-bevel carbonsteel plate or pipe welds 0.50 in.-1.00 in.(12.5 mm-25 mm) in thickness.See Section 4 for specimen details.
2 Normative References
The following referenced documents are indispensable for the application of this document. For dated references,only the edition cited applies. For undated references, the latest edition of the referenced document (includingany amendments) applies.
API 510, Pressure Vessel Inspection Code: In-service Inspection, Rating, Repair, and Alteration
API 570, Piping Inspection Code
API 653, Tank Inspection, Repair, Alteration and Reconstruction
API RP 577. Welding Processes, Inspection, and Metallurgy
ASNT-TC1A 1 ,Qualifcation of NDT Personnel
ASME 2 , Boiler and Pressure Vessel Code, Section V, Article 4
3 Terms, Defnitions, Acronyms, and Abbreviations
3.1 Terms and Defnitions
For the purposes of this document, the following defnitions apply.
3.1.1
centerline crack
A crack that occurs longitudinally in the center of a weld bead during solidifcation.
3.1.2
crack
A fracture of the material structure that separates the material without complete separation.
3.1.3
incomplete root fusion
A weld defect where the root of the weld is unfused.
3.1.4
incomplete root penetration
A weld defect where the depth of weld metal fused is incomplete.
3.1.5
grading unit
A length of a weld that may contain a weld discontinuity on either side of the weld in the QUTE and QUPA performance demonstration specimens. (e.g. 2 in.–3 in.). A designated grading unit for a given exam may or may not be from the same exam specimen.
3.1.6
lack of sidewall fusion (LOF)
A non-standard term indicating a weld discontinuity in which fusion did not occur between weld metal and fusion faces or adjoining weld beads.
3.1.7
owner/user
An owner or user of pressure vessels or piping who exercises control over the operation, engineering, inspection, repair, alteration, maintenance, pressure testing, and rerating of those pressure vessels and piping systems.
