ISO 2702 pdf download
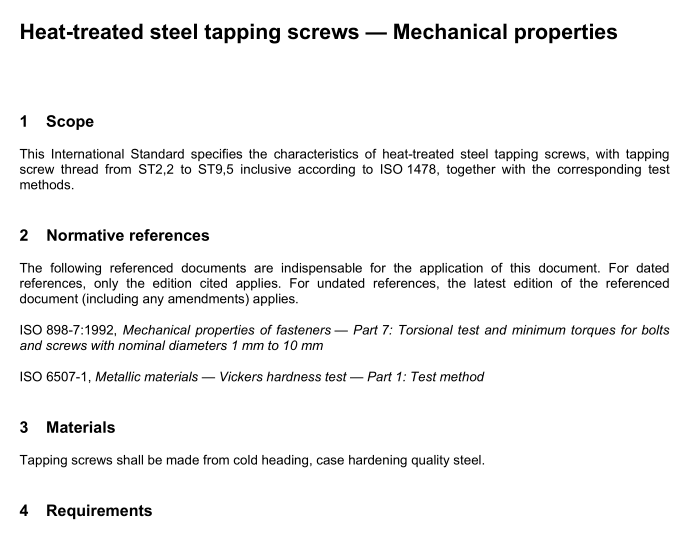
ISO 2702 pdf download Heat-treated steel tapping screws — Mechanical properties
1 Scope
This Intermnational Standard specifies the characteristics of heat-treated steel tapping screws,with tappingscrew thread from ST2,2 to ST9,5 inclusive according to lSO 1478,together with the corresponding testmethods.
2Normative references
The following referenced documents are indispensable for the application of this document.For datedreferences,only the edition cited applies.For undated references,the latest edition of the referenceddocument (including any amendments) applies.
ISO 898-7:1992,Mechanical properties of fasteners — Part 7:Torsional test and minimum torques for boltsand screws with nominal diameters 1 mm to 10 mm
ISO 6507-1, Metallic materials — Vickers hardness test — Part 1: Test method
3Materials
Tapping screws shall be made from cold heading, case hardening quality steel.
4Requirements
4.1Metallurgical requirements
4.1.1Surface hardness
The minimum surface hardness after heat treatment shall be 450 HV 0,3(see ISO 6507-1).4.1.2Case depth
The case depth shall conform to the values given in Table 1.
4.1.3Core hardness
The core hardness after heat treatment shall be
270 HV 5 to 370 HV 5 for threads ≤ ST3,9, and270 HV 10 to 370 HV 10 for threads ≥ST4,2.
4.1.4 Microstructure
The microstructure shall show no band of free ferrite between the case and core.
4.2Mechanical requirements
4.2.1 Thread-forming capability
Tapping screws shall form a mating thread without deforming their own thread when driven into a test plate, inaccordance with 6.2.1.
4.2.2Torsional strength
Tapping screws shall have a torsional strength such that the torque necessary to cause failture, when tested inaccordance with 6.2.2,shall equal or exceed the minimum torque values given in Table 3 for the applicablescrew threads.
5 Acceptance
For routine acceptance tests, the drive test, torsional test and core hardness test may be used, but for refereepurposes all requirements specified in this International Standard shall be satisfied.
6Test methods
6.1Test methods for the metallurgical requirements
6.1.1Surface hardness test
The Vickers hardness test shall be carried out in accordance with ISO 6507-1.
The impression of the pyramid shall be made on a flat face, preferably on the screw head.
6.1.2case depth – Microscopic test
Case depth shall be measured at the thread flank mid-point between crest and root or, in the case of smallertapping screws up to ST3,9, in the root of the thread.
For referee purposes, a micro hardness plot shall be made using a Vickers indenter and a 300 g load on thethread profile of a properly prepared metallographic specimen. The case depth shall be the point at which thehardness recorded is 30 Hv above the actual core hardness.
6.1.3core hardness test
The Vickers core hardness test shall be caried out in accordance with ISO 6507-1 at the mid-radius of atransverse section through the screw taken at a distance sufficiently behind the point of the screw to bethrough the full minor diameter.
6.1.4 Microstructure test
The microstructure test shall be carried out by metallographic examination.
6.2Test methods for the mechanical requirements
6.2.1Drive test
The sample screw (coated or uncoated, as received) shall be driven into a test plate until a thread of fulldiameter is completely through the test plate.
The test plate shall be made from low carbon steel with a carbon content not exceeding 0,23 %.The hardnessof the plate shall be 130 HV to 170 HV measured in accordance with IS0 6507-1.The thickness of the plateshall conform to the values given in Table 2.
The test hole shall be drilled, or punched and redrilled, or reamed to the hole diameter specified in Table 2 forthe size of screw being tested.
