ISO 10893-2 pdf download
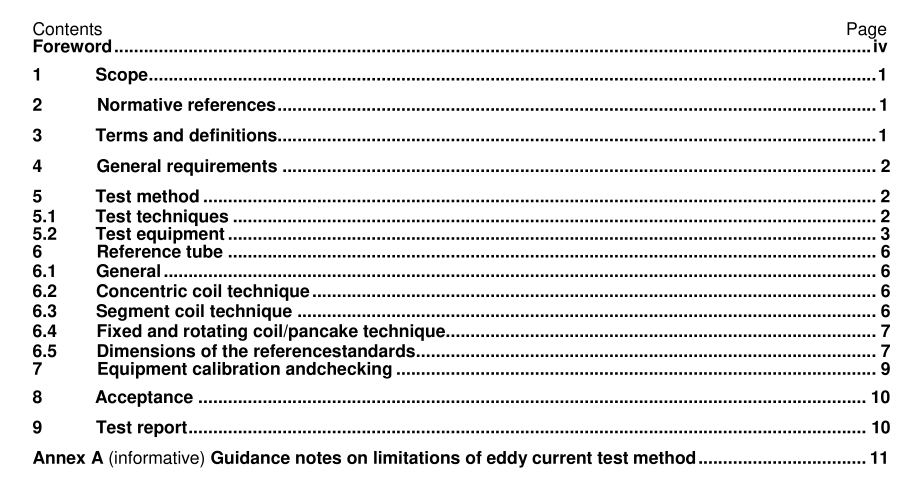
ISO 10893-2 pdf download Non-destructive testing of steel tubes — Part 2: Automated eddy current testing of seamless and welded (except submerged arc-welded) steel tubes for the detection of imperfections
3.5
seamless tube
tube made by piercing a solid product to obtain a tube hollow, which is further processed, either hot or cold, into itsfinal dimensions
3.6
welded tube
tube made by forming a hollow profile from a flat product and welding adjacent edges together, and which afterwelding can be further processed, either hot or coid, into its final dimensions
3.7
manufacturer
organization that manufactures products in accordance with the relevant standard(s) and declares thecompliance of the delivered products with all applicable provisions of the relevant standard(s)
3.8
agreement
contractual arrangement between the manufacturer and purchaser at the time of enquiry and order
4 General requirements
4.1Unless otherwise specified by the product standard or agreed on by the purchaser and manufacturer, thiseddy current inspection shall be carried out on tubes after completion of all the production process operations,such as rolling, heat treating, cold forming and hot working, sizing and primary straightening.
4.2 The tubes being tested shall be sufficiently straight to ensure the validity of the test. The surfaces shall besufficiently free of foreign matter which can interfere with the validity of the test.
4.3This inspection shall be carried out by trained operators qualified in accordance with lSO 9712,IS0 11484or equivalent and supervised by competent personnel nominated by the manufacturer. In the case of third-partyinspection, this shall be agreed on between the purchaser and manufacturer.
The operating authorization issued by the employer shall be according to a written procedure.NDT operationsshall be authorized by a level 3 NDT individual approved by the employer.
NOTE The definition of levels 1,2 and 3 can be found in appropriate International Standards, e.g.Ils0 9712 and IS0 11484.
5 Test method
5.1iest techniques
5.1.1 The tubes shall be tested by the eddy current method for the detection of imperfections using in “absolutemode” andlor in “differential mode” one of the following alternative automated or semi-automated techniques:a)concentric coil technique —— full peripheral (see Figure 1);
b)fixed or rotating probe/pancake coil technique — full peripheral (see Figure 2);
c)segment coil technique — weld seam only (see Figure 3) or full body (see Figure 4).
For all techniques, the chosen relative speed of movement during the testing shall not vary by more than ±10%.lt is recognized that there may be a short length at both tube ends which cannot be tested.Any untested endsshall be dealt with in accordance with the requirements of the appropriate product standards.
NOTE See Annex A for guidelines on the limitations of the eddy current test method.”
5.1.2 When testing tubes using the concentric coil technique, the maximum tube outside diameter that shall betested shall be restricted to 180 mm (250 mm for E4H).
Square and rectangular tubes, used for structural purposes, with a maximum dimension across the diagonal of180 mm may also be tested using this technique with adequately shaped coils.
5.1.3 When testing tubes using the rotating or fixed probe/pancake coil technique,the tube and theprobe/pancake coil shall be moved relative to each other or the movement shall be simulated by electroniccommutation through the individual probes composing the pancake, such that the whole of the tube surface isscanned.There is no restriction on the maximum tube outside diameter using this technique.
NOTE lt is emphasized that only external surface breaking imperfections can be detected using this technique.
5.1.4 When testing the weld of welded tubes using the segment coil technique, there is no restriction on themaximum tube outside diameter. The test coil shall be maintained in proper alignment with the weld, such as thatthe whole of the weld is scanned.
5.1.5 When testing the full body of tubes using the segment coils technique, the maximum tube outsidediameter that shall be tested shall be limited to:
-0219,1 mm for 2x 180° coils,
-o 508,0 mm for 4 x 100° coils.
NOTE lt is emphasized that the test sensitvity is at a maximum at the tube surface adjacent to the test coil and decreases withincreasing thickness (see Annex A).
5.2 Test equipment
The equipment shall be capable of classifying tubes as either acceptable or suspect tubes by means of anautomated trigger/alarm level combined with a marking and/or sorting system.
